Disc golf is the same as any sport or physical activity; it’s all about technique. The goal of the sport is to propel the disc towards the basket with maximum velocity and accuracy. We do that by putting the maximum amount of spin on the disc that our body can provide. This keeps the disc aloft. There are as many styles to throwing a disc as there are people that play. With that said, there are a few aspects to our swing that we want to have proper technique.
We want to do this in a controlled fashion with technique. I cannot emphasize this enough. Disc golf is all about three things; technique, technique and technique. Remember, slow is smooth and smooth is far.
This tutorial is for a right-handed backhand (RHBH) throw.
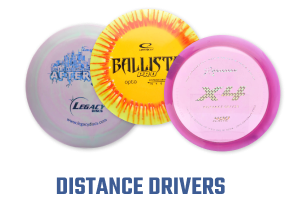
Disc Choice and Grip
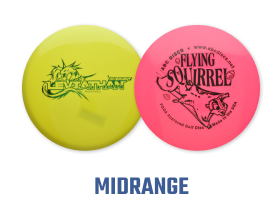
If you are a beginner you should start with an understable disc. This means that for a RHBH the disc will have a tendency to turn right. There is an entire flight rating system to help you choose the perfect discs for your skill level. There are four ratings systems under which each will have a number; speed, glide, turn and fade. These numbers provide a mental glimpse into how a disc will fly throughout its flight path.
For a beginner, I recommend no faster than a 6 speed and a turn rating of -1 to -3.
Once you have your disc selected it is time to put it in your hand. Look at the outer rim of the disc. Place the sharp edge of the rim into the crease under the first knuckle of your index finger. Now lay your next three fingers comfortably on the rim behind it. Place your thumb on the top of the flight plate and press down with your index finger and your thumb. Remember that once you throw the disc it is not a “letting go” of the disc but a snapping out of the fingers.

Lower Body
It all starts with the lower body. Without proper footwork, you can kiss the rest of your swing goodbye. Let’s use a clock analogy. Picture the teepad (or wherever your disc lies on the course) as 6 o’clock and the basket as 12 o’clock. Line your feet up so that you are facing perpendicular to the basket and your front foot is at 11 o’clock. It may seem counterintuitive at first but this is the single largest mistake beginners make. If your front foot is further right of 12 o’clock (i.e., at 1 or 2 o’clock) there is a tendency to miss your shot to the right (i.e., grip lock!).
I highly recommend starting with a stand-still throw (simply leave your feet in place with no run up) for 3 weeks of consistent play. This will make it much easier to end up with the correct footwork. You simply transfer your weight backwards with your feet in place and then bring your
momentum forward. This is the best way to learn technique and not have to un-do bad habits down the road.

However, if you have experience, you can implement the X-step. Start with a five step approach. Face your target and step with your right foot (step 1). Then off to the side with your left foot (step 2) and power in to your X-step. Your right foot (step 3) will touch down lightly as your left foot (step 4) swings behind the right in a gliding fashion. These steps are very light and swift. The final step onto your right foot (step 5) provides the base of the power pocket(more on this later). As your swing follows through be sure to rotate on your front heel to avoid injury.
Reach Back and Pull Through
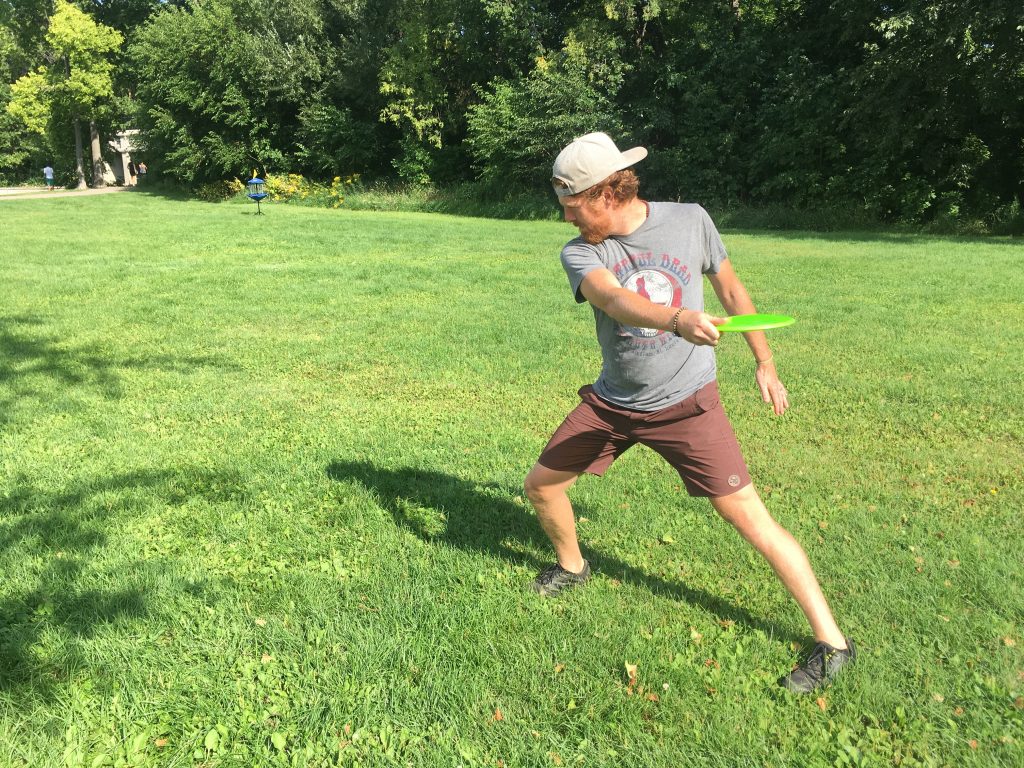
Once we have our weight back and are transferring into our final step it is time for the reach back. The reach back is a simple movement. Straight! Push the throwing arm straight back and bring it straight forward through the chest and close to the body. This creates a loaded arm with huge amounts of potential energy.
There are a couple analogies to consider here. The first is of starting a pull-start lawn mower. Think of the weight transfer and the position of your arm throughout the pull. Envision how your arm finishes. This is the exact motion of the reach back and pull through.
The next analogy is that of breaking through a door with your elbow. Imagine your house is on fire and the only way out is to break through your door. How would you get the most power out of your elbow? Replicate that in your throw. Commit to bringing the elbow forward with force before it unfurls through the power pocket.
Power Pocket
The grip is tight, we have the rest of our body in a loaded and powerful position and we have transferred our weight forward. We have arrived in the power pocket. Allow the elbow to power through and “snap” the disc out of the fingers. Allow the front foot to pivot on the heel and follow through with your entire body. Allow all of the forward momentum to follow through so as to avoid repetitive injuries.
The power pocket is where we want all of our distance shots to flow through. End up in this position and you will find consistency in your game.
Summary
Now you are a pro! Well, maybe not quite yet. But with some practice and implementation of these techniques, you will increase your skills and enjoyment of this wonderful game. For more form tips, check out Simon Lizottes form critique on YouTube. He is a top touring pro and has wonderful advice on proper technique.
Enjoy yourself as you gain skills and confidence. Take it slow and implement tempo, speed and timing into your swing. Muscle memory will surely follow. Remember that slow is smooth and smooth is far.
This is the best customer service I've had in quite some time. You will most definitely be getting more of my business.